My daughter and I had a little fun on this Black Friday and it didn't involve going to the stores at midnight, or even 5:00 in the morning.
What we did was create a little Christmas magic using materials from our local Dollar Tree store.
I saw these paper trees in the December issue of Better Homes and Gardens and decided they would be an easy, fun little project.
They are filled with candies (also from the Dollar Tree).
Believe it or not, they were created from various Christmas bags and boxes.
After a quick trip around the corner to the local Dollar Tree to pick up supplies, including shiny, sparkly Christmas bags and boxes, double-sided tape, and candy; we spent the rest of the afternoon cutting, gluing, taping and laughing. We watched a Christmas movie while we worked (The Holiday~ Could Jude Law be any yummier?).
In addition to the trees, we made a mess...
but mostly we made some great memories!
This may become a new tradition for us. Much more enjoyable than getting up at the crack of dawn to shop at Walmart.
Friday, November 25, 2011
Saturday, October 29, 2011
A Special Halloween Treat
You've heard of Red Velvet Cake...meet Black Velvet Cake!
It is essentially Red Velvet Cake, but instead of using red food coloring to make the classic red cocoa cake, black food coloring makes the cake a nice spooky black.
This cake is going to a Halloween Party tonight where it will hopefully be devoured by costumed celebrants.
The frosting is the best part. It is so smooth, creamy and delicious. Yellow and red food coloring and candy corns make it worthy of the holiday.
Black Velvet...if you please.
Happy Halloween!
Wednesday, September 21, 2011
Dollar Tree Halloween Wreath
I absolutely love the Dollar Tree. The variety of items and the amazing quality of some of them is great. The Dollar Tree is my first stop when I am getting ready to decorate my home for the season or the holidays. It is also a budget friendly place to purchase cleaning supplies.
With that intent in mind (cleaning supplies) my husband and I made the trip to our local Dollar Tree this past weekend, and of course I had to check out the Halloween and fall decorations.
I decided I could use some of these to create a wreath to hang on our front door for Halloween.
I love how it turned out and it cost a total of $4! It was fun and easy to make. By the way...the bats even glow in the dark!
Oh ya, we did get cleaning supplies too.
With that intent in mind (cleaning supplies) my husband and I made the trip to our local Dollar Tree this past weekend, and of course I had to check out the Halloween and fall decorations.
I decided I could use some of these to create a wreath to hang on our front door for Halloween.
I love how it turned out and it cost a total of $4! It was fun and easy to make. By the way...the bats even glow in the dark!
Oh ya, we did get cleaning supplies too.
Saturday, April 23, 2011
Guitar Strap Bag
My son purchased a role of colorful woven strap fabric he liked so that he could make a new guitar strap out of it. Once he unrolled the strap fabric, he realized that it wasn't sturdy enough by itself to do the job. He decided to back it with some faux suede. After he finished the guitar strap, there was nearly a yard of the faux suede left.
I asked him if I could use the remainder and he agreed. I used my new sewing machine (Brother SQ9000) to put together a cross body bag. I took advantage of the decorative stitches available on this machine for the bag flap.
The lining fabric was left over from a roman shade I made for my kitchen. The lining has vining leaves, so I choose a decorative stitch to go with that. The results are pleasing. See for yourself...
I asked him if I could use the remainder and he agreed. I used my new sewing machine (Brother SQ9000) to put together a cross body bag. I took advantage of the decorative stitches available on this machine for the bag flap.
The lining fabric was left over from a roman shade I made for my kitchen. The lining has vining leaves, so I choose a decorative stitch to go with that. The results are pleasing. See for yourself...
Easter Bunnies
I made this bunch of bunnies using men's shirts and ties and some left over fabric scraps. I found the pattern and directions here: http://www.marthastewart.com/how-to/stuffed-bunny
They were so fun and easy to make that I actually made 6 of them. I gave 3 of them to some special little people in my life. The ones above are the ones I have left.
The yellow in the ears of the middle and right hand ones are from one of my husband's ties. It was from the '80s, so I used it without asking him first.
Lucky for me he was not angry when I fessed up. He acknowledged that he only wears ties to weddings and funerals.
I promptly retrieved 3 more ties from his closet.
I will post the projects from those in a later post.
They were so fun and easy to make that I actually made 6 of them. I gave 3 of them to some special little people in my life. The ones above are the ones I have left.
The yellow in the ears of the middle and right hand ones are from one of my husband's ties. It was from the '80s, so I used it without asking him first.
Lucky for me he was not angry when I fessed up. He acknowledged that he only wears ties to weddings and funerals.
I promptly retrieved 3 more ties from his closet.
I will post the projects from those in a later post.
Monday, April 4, 2011
More bags...
Last weekend I spent some time creating some messenger bags for a couple of my friends and my daughter. I made a large padded one (room for a Mac Book) with a big wide handle. I love it!
I am supposed to give it to my daughter, but I just might have to keep it. The fabric is some that my mom sent me. She bought it to make herself a jacket, which she obviously never did. I have used it on about 4 bags, and have used it up.
This is how I will rationalize it when I explain to my daughter that it is mine.
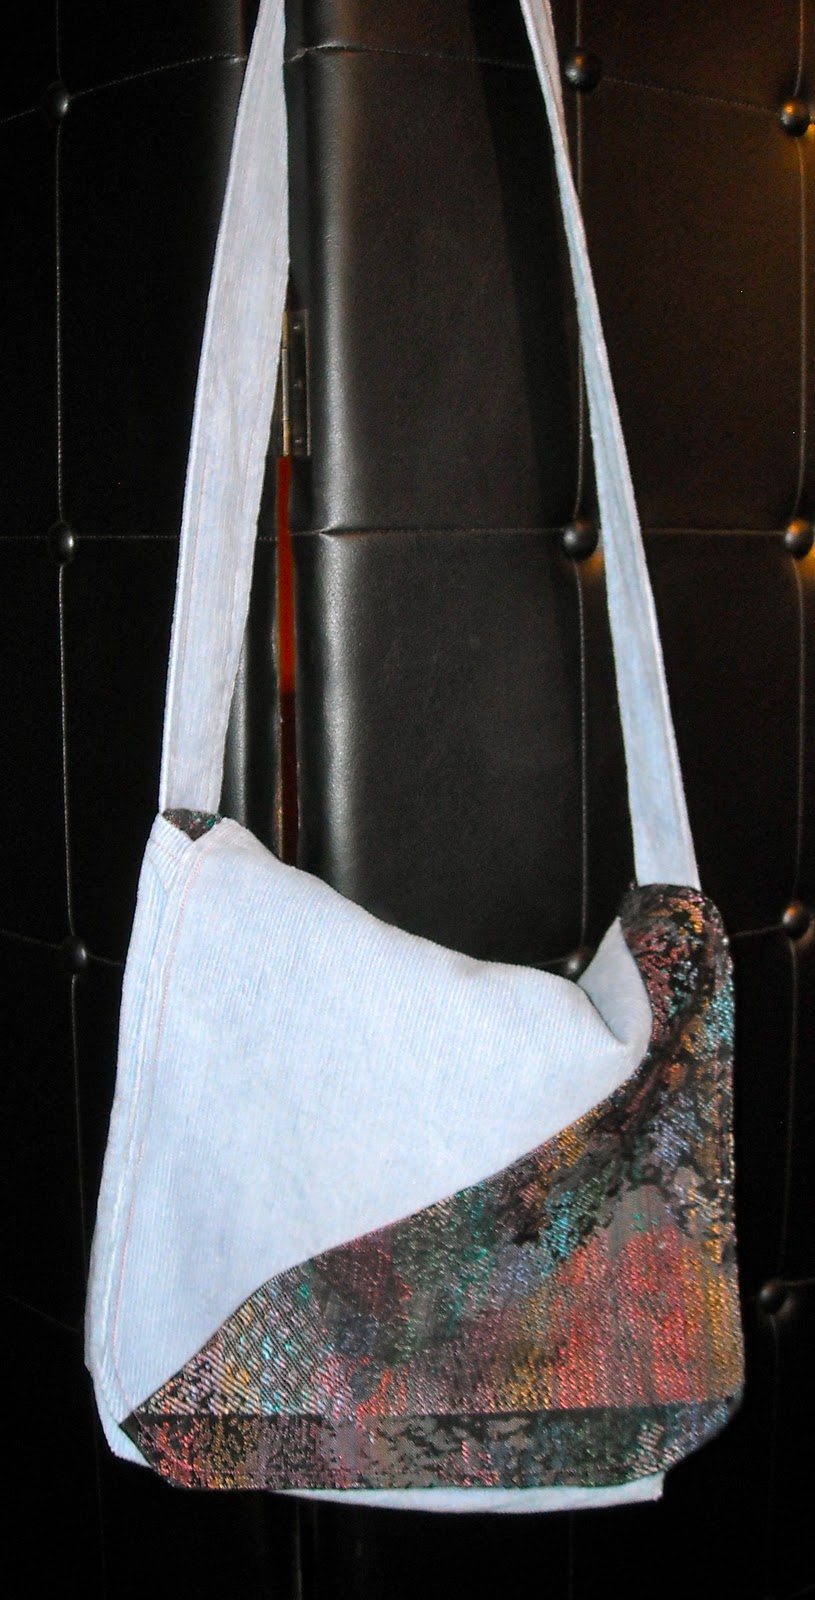
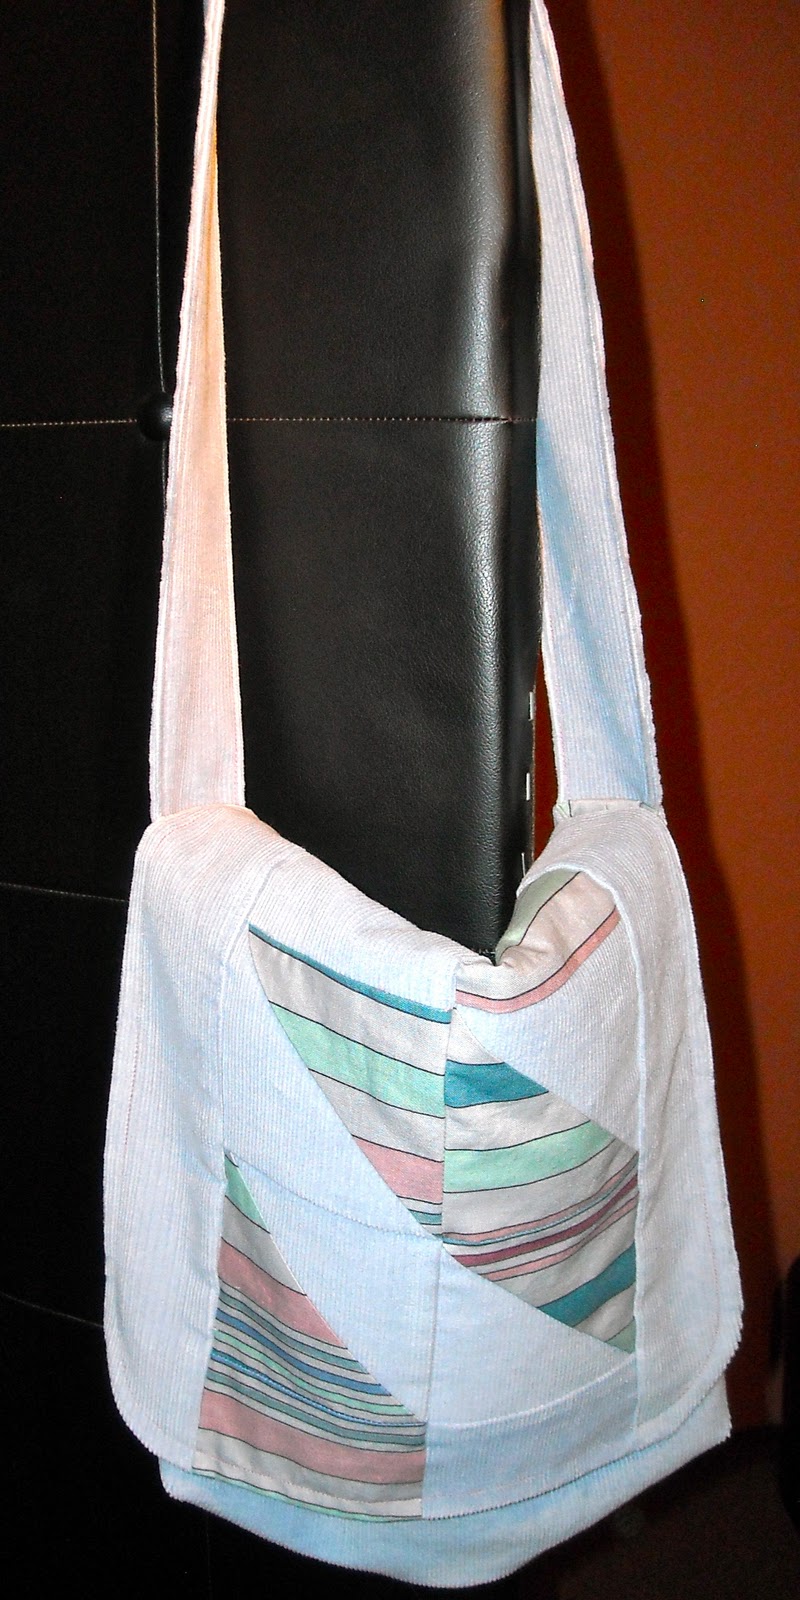
I made 2 other smaller bags and tried a bit of quilting on the flap. This is my first attempt at piecing.
I am fairly happy with the results. (Notice Mom's never-used jacket fabric)
The other fabric you see looks like washed-out denim in the photo, but it is actually a pale blue corduroy. The corduroy, I purchased at a tiny thrift store around the corner from my house. It was a huge piece of fabric for only $2. I have more left. It is perfect for these type of messenger bags.
This one is really my pieced-a-resistance? (That doesn't seem right) Anyway, it is truly pieced like a quilt. Can you see the mismatched stripes?
I am supposed to give it to my daughter, but I just might have to keep it. The fabric is some that my mom sent me. She bought it to make herself a jacket, which she obviously never did. I have used it on about 4 bags, and have used it up.
This is how I will rationalize it when I explain to my daughter that it is mine.
I made 2 other smaller bags and tried a bit of quilting on the flap. This is my first attempt at piecing.
I am fairly happy with the results. (Notice Mom's never-used jacket fabric)
The other fabric you see looks like washed-out denim in the photo, but it is actually a pale blue corduroy. The corduroy, I purchased at a tiny thrift store around the corner from my house. It was a huge piece of fabric for only $2. I have more left. It is perfect for these type of messenger bags.
Saturday, March 19, 2011
Puppy Pillow
This dog bed is made from fabric scraps I had in my stash. It is my first attempt at making a dog bed. I think is is pretty cute. We will see how my dogs like it.
The fabric choice is serendipitous, as the puppy pillow will be used in our bedroom and the floral fabric is the same used in the valance on our bedroom window and as a curtain that hides storage under my sink in the master bath.
The bed is approximately 17X21 inches, and about 2 inches thick. I used fiber fill to stuff it. It was some that I had left from another project. The pattern was one that I downloaded from the Internet years ago. The pattern said to enlarge 200% which I did, but it was still really too small. I had to improvise. I am pleased with the results. Especially since it is made from scraps I had around. No purchases necessary for this project.
I like it!
The fabric choice is serendipitous, as the puppy pillow will be used in our bedroom and the floral fabric is the same used in the valance on our bedroom window and as a curtain that hides storage under my sink in the master bath.
The bed is approximately 17X21 inches, and about 2 inches thick. I used fiber fill to stuff it. It was some that I had left from another project. The pattern was one that I downloaded from the Internet years ago. The pattern said to enlarge 200% which I did, but it was still really too small. I had to improvise. I am pleased with the results. Especially since it is made from scraps I had around. No purchases necessary for this project.
I like it!
Subscribe to:
Posts (Atom)