Saturday, December 31, 2011

Everyone Needs an Apron

Finally, I can post my Christmas gift projects. The last ones were gifted yesterday at a wonderful lunch with my two dearest friends. So now the cat can be let out of the bag, so to speak.
This year I decided to make aprons. I have the philosophy that everyone needs an apron. I also have the philosophy of getting rid of the tons of bizarre fabric I have that I can't find any other use for. That fabric worked perfectly for aprons.
The stash of patterns in my sewing area yielded a pattern for aprons, but it wasn't quite what I pictured. After scouring the Internet for a pattern, and not finding exactly what I envisioned, I did what I should have done in the first place...I created my own pattern.
The apron I had in mind needed to be workable for both men and women, and above all, be simple in design and construction.
My cousin made an apron in home ec class over 30 years ago, that I somehow ended up with and still use. (remember home ec?)That old home ec apron was the closest to my vision, so it became the guide.
Old newspaper became the pattern paper and cutting and construction began. 
No pictures were taken during this process. (Too much concentration on the design to remember to get the camera).
Oven repair man in background
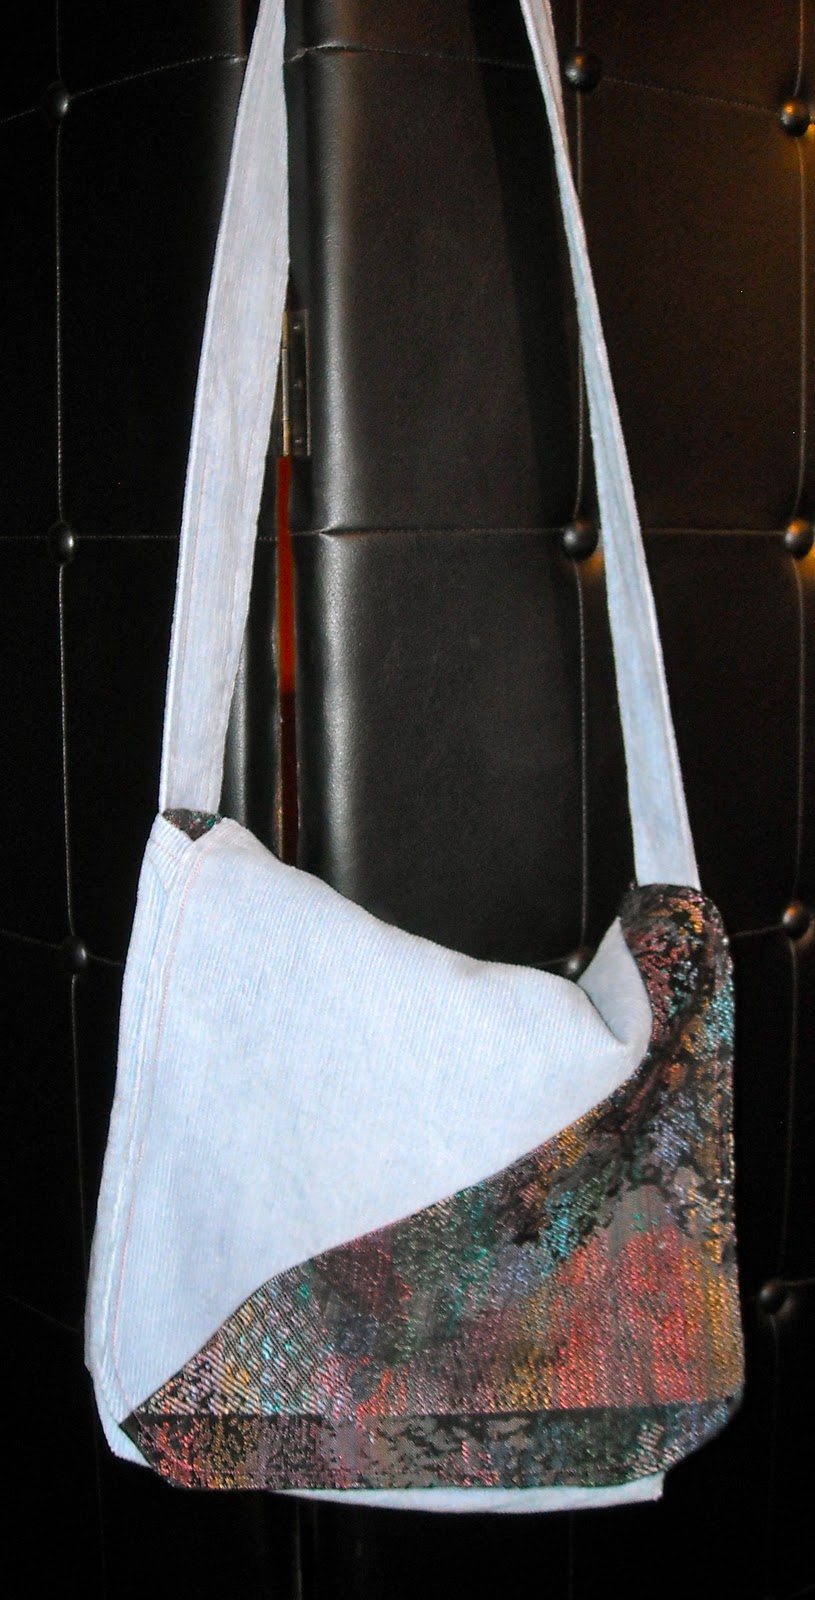
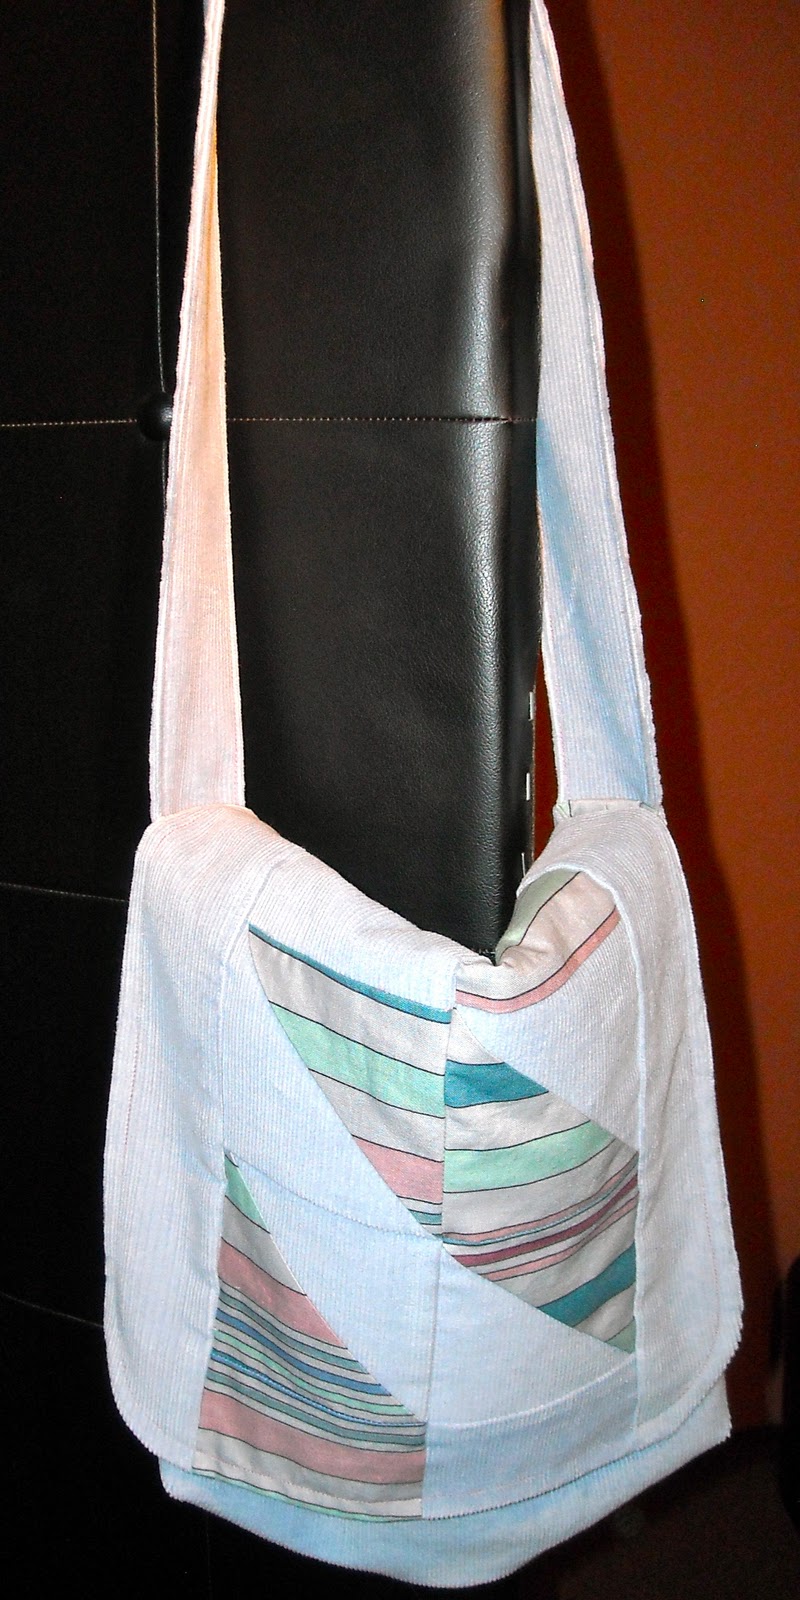
However, a photo was taken of each of the aprons created. The apron gallery is posted throughout this blog entry.
Overall, I am happy with the results. The apron that developed was a simple design and easy to make. The entire time spent on one apron from cutting through completion was about an hour.
The pattern is so simple that adding embellishment wouldn't take much effort. Maybe that will be my next project.

Thursday, December 29, 2011

Pioneer Macaroni and Cheese

I have mentioned my great-grandmother's 1950 Betty Crocker Cook Book in this blog before. One of the recipes from this wonderful book that my family always requests is Pioneer Macaroni and Cheese.
It is not a creamy mac and cheese (although the cook book does give a creamy variation of the recipe). It is more like a noodle custard that is absolutely yummy!
The ingredients are noodles, cheese, eggs, milk, butter and salt and pepper. What could be simpler than that?
Here are these simple ingredients ready to be combined and then baked. You can see this most useful of cook books in the background.
After being combined and baked for about 1 hour, here is what you get.
It is as scrumptious as it looks.
Here is the basic recipe.
Boil 12 oz. of pasta (your choice of type) I used bow-tie this time, but I have used ziti, elbow, whatever I have on hand. While pasta is boiling, cube up 2 cups of sharp cheddar cheese into 1 inch cubes. Combine 2 eggs, 3 cups of milk and salt and pepper to taste. Once the pasta is cooked and drained combine it with the cheese in a large baking dish. Pour the milk and egg mixture over all. Dot the top with about a tablespoon of butter. Bake at 350 for 45 minutes to an hour. It takes an hour in my oven.
Try this simple, wonderful, comfort food with a salad for dinner soon.

Wednesday, December 28, 2011

Christmas Cinnamon Rolls


Need I say more?
Alas, I cannot take credit for these beautiful, cinnamonny, sweet, food of the gods.
My beautiful, sweet, not so cinnamonny, daughter made them for our Christmas morning breakfast.
She made them using the cinnamon roll recipe from my absolute favorite cookbook.
The 1950 Betty Crocker Cookbook
More to come about this prize possession of mine in a later blog entry.
The dough was prepared and allowed to rise on Christmas Eve.
The next morning she got up bright and early to create the beautiful creation you see above.
The rolls were delicious and disappeared quickly. My father-in-law had four.
The most amazing thing is she baked these in an oven that is suffering from a temperature control problem. The oven temp had to be set on 410 degrees in order for them to bake correctly.
The oven will hopefully be repaired today.

Saturday, December 24, 2011

Tamales...1st Attempt!

This week my daughter and I tried something we have never tried before. We made tamales.
My husband was born and raised in Arizona so tamales at Christmas have been a tradition for him. His family didn't make them, they were always purchased from a talented woman who owned the local, very popular Mexican restaurant.
After our marriage, we took on the tamale buying tradition. Each year  vows were made that next year we would make our own. 
Christmases came and went...we never made tamales.
When my daughter came home from college for this year's holidays, she assured me that we could make our own Christmas tamales. 
I found a recipe in a cook book, but it didn't give enough detail, so I headed to the land of online recipes. The capital of this land has to be Allrecipes.com
Finding a recipe that looked good and provided the needed detail was easy. I just typed in tamale recipe and it came up. The recipe title is simply, Beef Tamales. It is, however, an authentic, time consuming recipe, and I am a "gringa" from Wisconsin, so I was a bit overwhelmed. After all, this isn't brats and sauerkraut. 
After reading the reviews, (which were all raves) I discovered that a would-be tamale maker (probably another gringa) had found a less complex way to make the meat for the tamales, in a crockpot.  The recipe title is Charley's Slow Cooker Mexican Style Meat (allrecipes.com)
The meat was prepared and slow cooked the afternoon before and placed in the refrigerator for the tamale construction the next day.
I woke bright and early and soaked 3 bags of corn husks (suggested by recipe) in a plastic tote in the bathtub for 3 hours.
Once the husks were pliable, the construction began.
As you can see from the photo, an afternoon of tamale construction requires liquid fortification in the form of beer (a nod to my roots). 
We built 68 beef tamales. The first 20 or so taught us how to spread the masa, then add meat, and then roll and tie. 
My Nesco roaster makes a great steamer. It holds about 30 at a time.
After steaming for about an hour, the tamale testers at my house (husband and son) proclaimed them delicious!
The pile of tamales in the fridge has been depleted by about 1/2 in the last 2 days, so they must be at least eatable.
This will definitely become a family tradition for us at Christmas. The tamales were not difficult...just labor and time intensive. 
Next year, we will only use 2 bags of husks, as we had a lot left over. I am also going to try the meat recipe with pork or chicken.
Not bad, if I do say so myself...especially for a gringa from Wisconsin. I plan to grab a cold beer and a warm tamale later today. Merry Christmas!

Friday, November 25, 2011

A Little Fun on the Day After Thanksgiving

My daughter and I had a little fun on this Black Friday and it didn't involve going to the stores at midnight, or even 5:00 in the morning.
What we did was create a little Christmas magic using materials from our local Dollar Tree store.


I saw these paper trees in the December issue of Better Homes and Gardens and decided they would be an easy, fun little project.
They are filled with candies (also from the Dollar Tree). 
Believe it or not, they were created from various Christmas bags and boxes.


After a quick trip around the corner to the local Dollar Tree to pick up supplies, including shiny, sparkly Christmas bags and boxes, double-sided tape, and candy; we spent the rest of the afternoon cutting, gluing, taping and laughing. We watched a Christmas movie while we worked (The Holiday~ Could Jude Law be any yummier?). 
In addition to the trees, we made a mess...


but mostly we made some great memories!


This may become a new tradition for us. Much more enjoyable than getting up at the crack of dawn to shop at Walmart.

Saturday, October 29, 2011

A Special Halloween Treat


You've heard of Red Velvet Cake...meet Black Velvet Cake!

It is essentially Red Velvet Cake, but instead of using red food coloring to make the classic red cocoa cake, black food coloring makes the cake a nice spooky black.

This cake is going to a Halloween Party tonight where it will hopefully be devoured by costumed celebrants.

The frosting is the best part. It is so smooth, creamy and delicious. Yellow and red food coloring and candy corns make it worthy of the holiday.

Black Velvet...if you please.
Happy Halloween!

Wednesday, September 21, 2011

Dollar Tree Halloween Wreath

I absolutely love the Dollar Tree. The variety of items and the amazing quality of some of them is great. The Dollar Tree is my first stop when I am getting ready to decorate my home for the season or the holidays. It is also a budget friendly place to purchase cleaning supplies.
With that intent in mind (cleaning supplies) my husband and I made the trip to our local Dollar Tree this past weekend, and of course I had to check out the Halloween and fall decorations.
I decided I could use some of these to create a wreath to hang on our front door for Halloween. 
I love how it turned out and it cost a total of $4! It was fun and easy to make. By the way...the bats even glow in the dark!
Oh ya, we did get cleaning supplies too.

Saturday, April 23, 2011

Guitar Strap Bag

My son purchased a role of colorful woven strap fabric he liked so that he could make a new guitar strap out of it. Once he unrolled the strap fabric, he realized that it wasn't sturdy enough by itself to do the job. He decided to back it with some faux suede. After he finished the guitar strap, there was nearly a yard of the faux suede left.
I asked him if I could use the remainder and he agreed. I used my new sewing machine (Brother SQ9000) to put together a cross body bag. I took advantage of the decorative stitches available on this machine for the bag flap.
The lining fabric was left over from a roman shade I made for my kitchen. The lining has vining leaves, so I choose a decorative stitch to go with that. The results are pleasing. See for yourself...


Easter Bunnies

I made this bunch of bunnies using men's shirts and ties and some left over fabric scraps. I found the pattern and directions here: http://www.marthastewart.com/how-to/stuffed-bunny
They were so fun and easy to make that I actually made 6 of them. I gave 3 of them to some special little people in my life. The ones above are the ones I have left.
The yellow in the ears of the middle and right hand ones are from one of my husband's ties. It was from the '80s, so I used it without asking him first.
Lucky for me he was not angry when I fessed up. He acknowledged that he only wears ties to weddings and funerals.
I promptly retrieved 3 more ties from his closet.
I will post the projects from those in a later post.

Monday, April 4, 2011

More bags...

Last weekend I spent some time creating some messenger bags for a couple of my friends and my daughter. I made a large padded one (room for a Mac Book)  with a big wide handle. I love it!
I am supposed to give it to my daughter, but I just might have to keep it.  The fabric is some that my mom sent me. She bought it to make herself a jacket, which she obviously never did. I have used it on about 4 bags, and have used it up.
This is how I will rationalize it when I explain to my daughter that it is mine.
I made 2 other smaller bags and tried a bit of quilting on the flap. This is my first attempt at piecing.

I am fairly happy with the results. (Notice Mom's never-used jacket fabric)
The other fabric you see looks like washed-out denim in the photo, but it is actually a pale blue corduroy. The corduroy, I purchased at a tiny thrift store around the corner from my house. It was a huge piece of fabric for only $2. I have more left. It is perfect for these type of messenger bags.


This  one is really my pieced-a-resistance? (That doesn't seem right) Anyway, it is truly pieced like a quilt. Can you see the mismatched stripes?

Saturday, March 19, 2011

Puppy Pillow

This dog bed is made from fabric scraps I had in my stash. It is my first attempt at making a dog bed. I think is is pretty cute. We will see how my dogs like it.
The fabric choice is serendipitous, as the puppy pillow will be used in our bedroom and the floral fabric is the same used in the valance on our bedroom window and as a curtain that hides storage under my sink in the master bath.
The bed is approximately 17X21 inches, and about 2 inches thick. I used fiber fill to stuff it. It was some that I had left from another project. The pattern was one that I downloaded from the Internet years ago. The pattern said to enlarge 200% which I did, but it was still really too small. I had to improvise. I am pleased with the results. Especially since it is made from scraps I had around. No purchases necessary for this project.
I like it!

Messenger Bags

These are some pictures of the messenger bags I have been making for friends, family and myself. The bluejean one was made from a very old pair of my husband's Levi 501s. It was made for my daughter. She loves it. It is especially nice for her at college because it can be washed very easily. I found the pattern at this link: http://mmmcrafts.blogspot.com/2009/06/basic-messenger-bag.html
It is really simple and fun to make. I added an extra pocket inside just because I like a little more organization in my purses.